+7 964 190 78 16
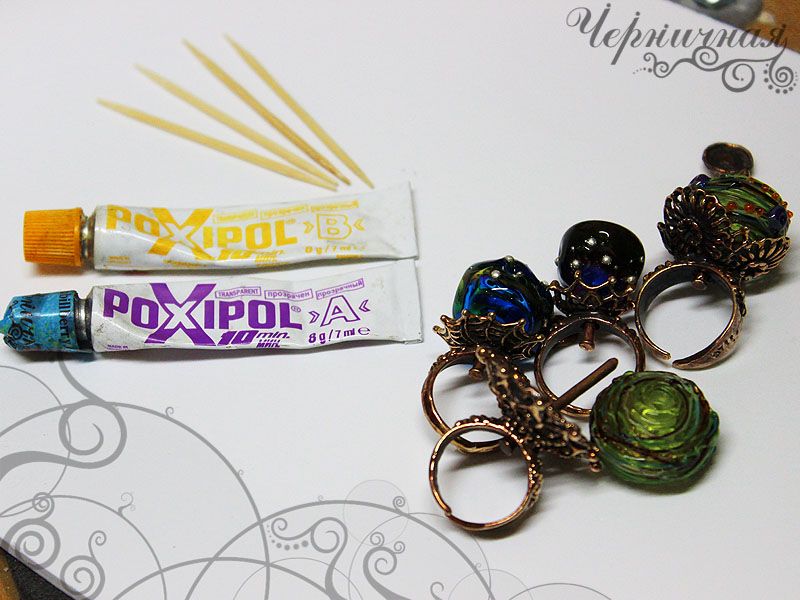
We need a basis for ring, a bead, some glue "Poxipol", a toothpick, nippers, alcohol, cotton wool, a drill with grinding and polishing nozzles, some cleaning agent and old toothbrush. If you haven't a drill you can use any other abrasive tool - needle files, files or rubber instead of it.
The most versatile component:)
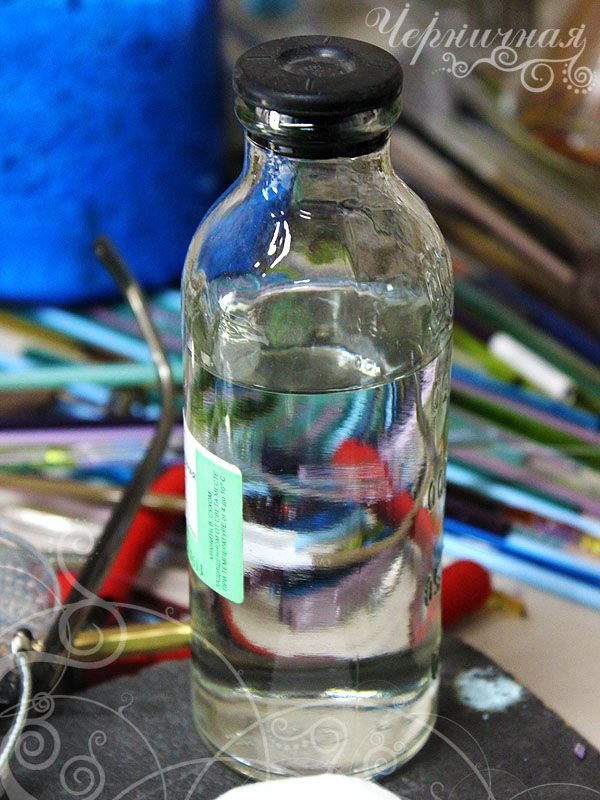
We start our work with the degreasing of all adhered surfaces. The carefully wipe the basis, a bead, a probe and a hattock with alcohol.
Then we take glue "Poxipol",it is the most convenient.
Push approximately equal amount of glue components.
Mix two components with a toothpick carefully. The mixture will be heated during this process, it is normal, because of chemical reaction. Besides, epoxy glue is harmful for your health, we recommend you to use a respirator and air the room where you work regularly.
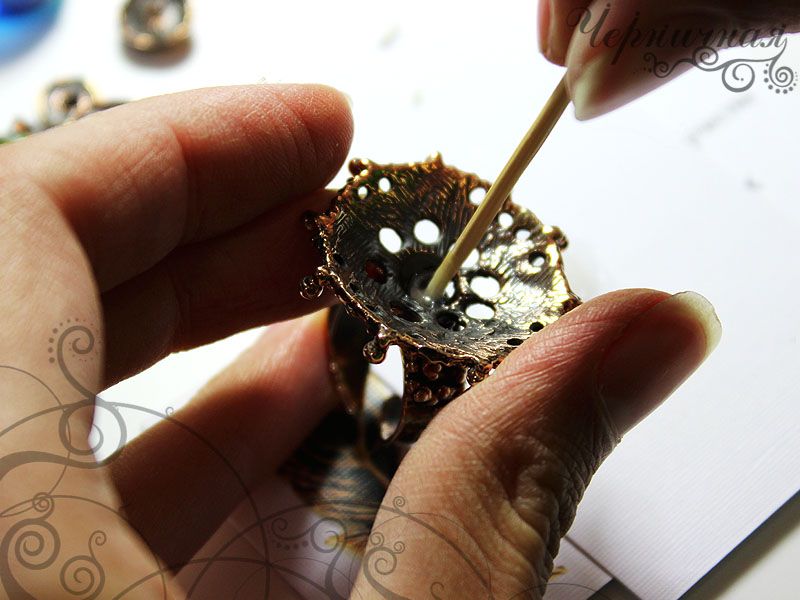
We put some glue to the probe and shank with a toothpick.
Put the bead on the pin. Then we inset a cap at the top. Carefully cover the cap and the bead with glue.
Wait a bit to make it sticked together. Now we need to nip an excess part of the pin. Try to nip it as much closely to the cap as possible -you will have less work further. Then carefully nip the pin around.
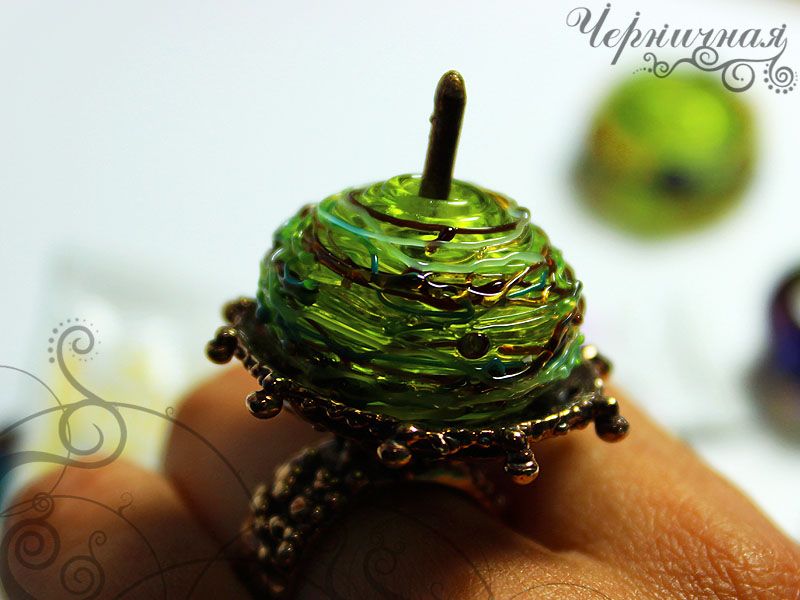
It should look so. And then you can pin everything excess completely.
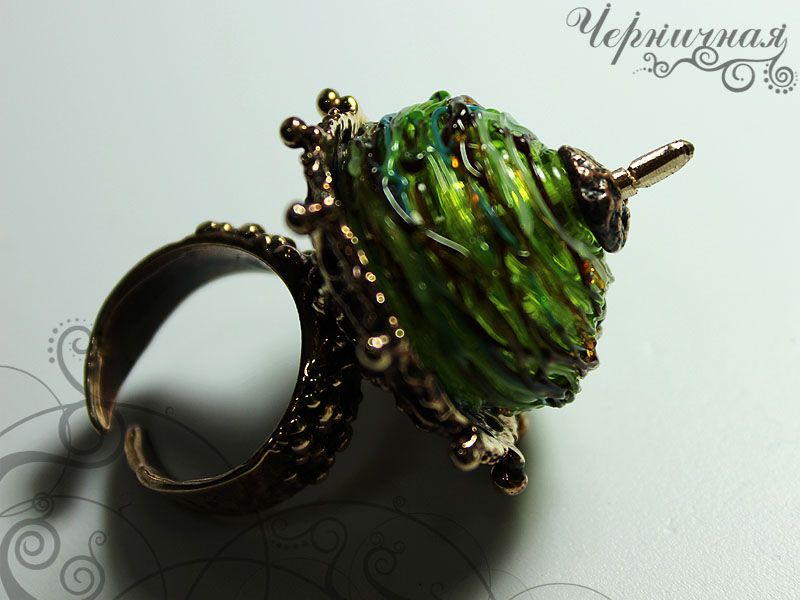
The ring will look so.
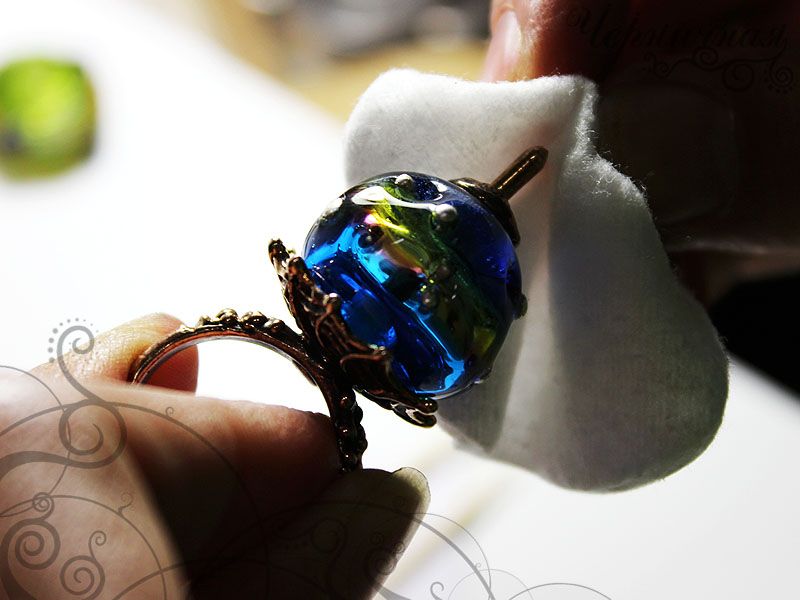
If glue is put inaccurate, don't forget about an alcohol, you can wipe the ring with it,but not drink it.
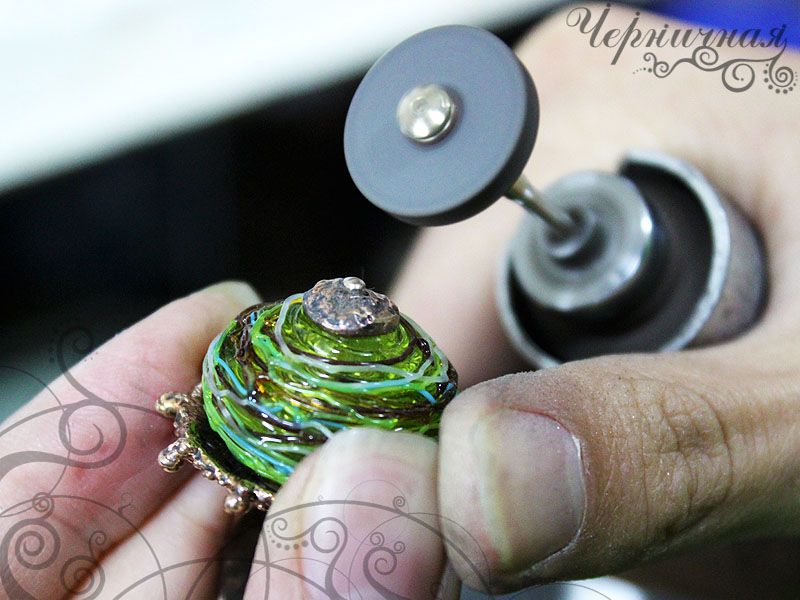
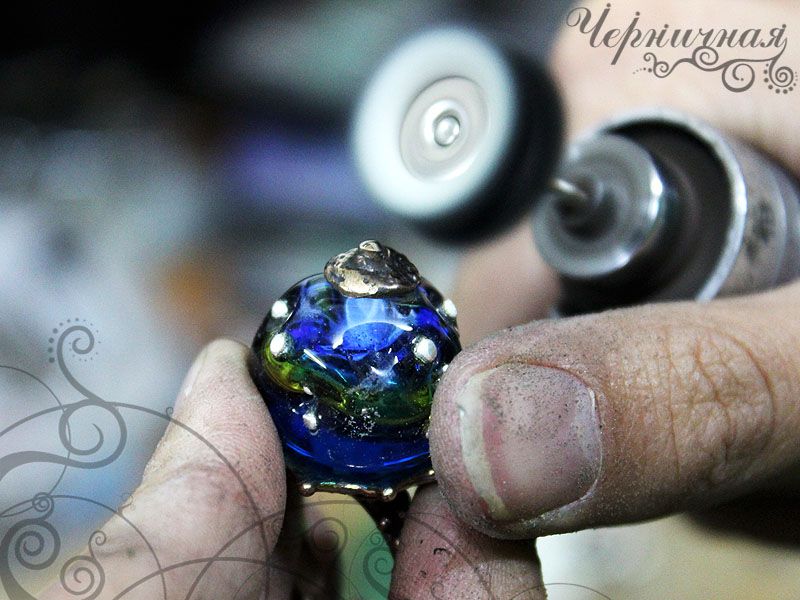
The rest piece of the pin we smooth out with abrasive nozzle on a drill. You can also use files to do it.
Then polish it thoroughly . After all we should water the ring with cleaning agent,an old toothbrush will help you to do it.
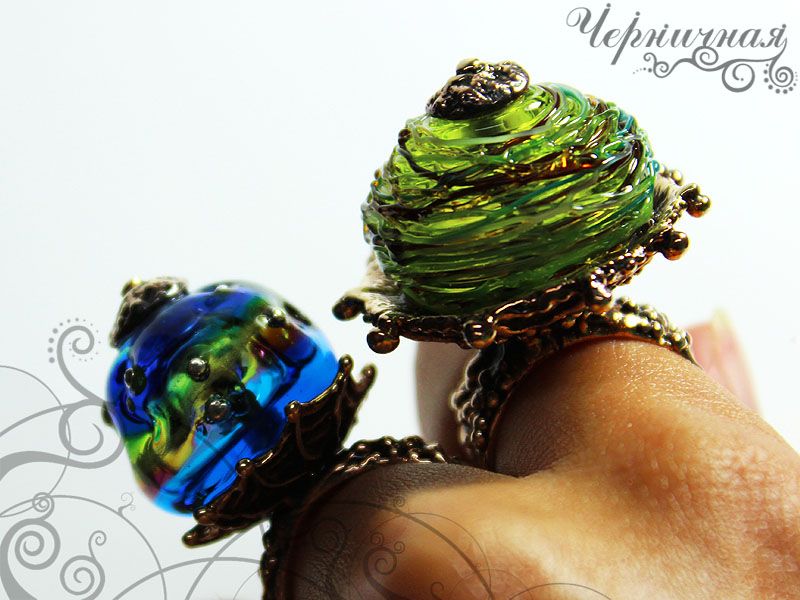
And there are finished rings.
Global website update
We make a global website renew. Read about new functions and some future plans here.
Sign up for special
offers
offers